Windows10と11はこの方法でMySQLのインストールができます。
MySQLのダウンロード方法
ダウンロードページ
https://dev.mysql.com/downloads/installer/
ここにアクセスすると以下の2つのダウンロードがあります。容量が小さいのが、あとから必要なファイルをダウンロードしながらインストールする方法、下側の容量が大きいやつは先に必要ファイルをダウンロードする
MySQLのバージョンは両方とも同じです。必要に応じてバージョンをsleelctで変更してください。とりあえずここは何もせずにそのまま下のDownloadボタンをクリック
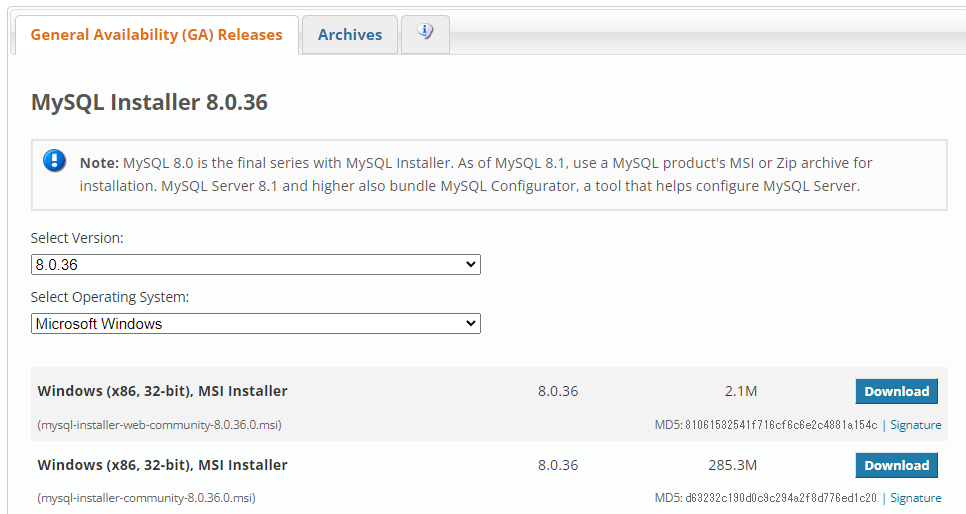
300MB程度のファイルなのでちょっと待ちましょう
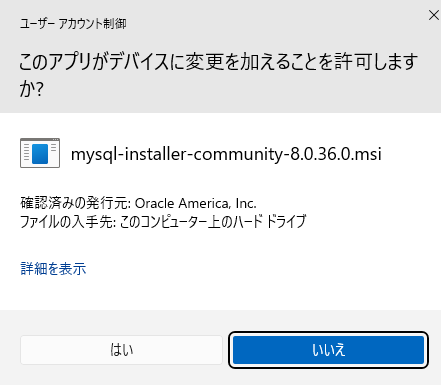
MySQLのインストール手順
はいを選択
つぎもはいを選択
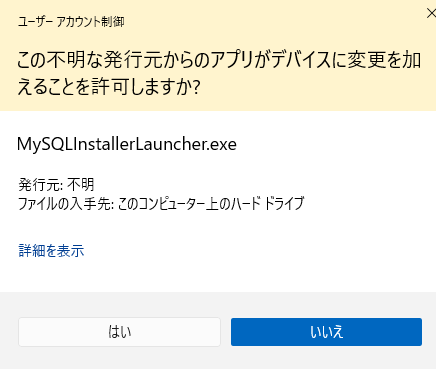
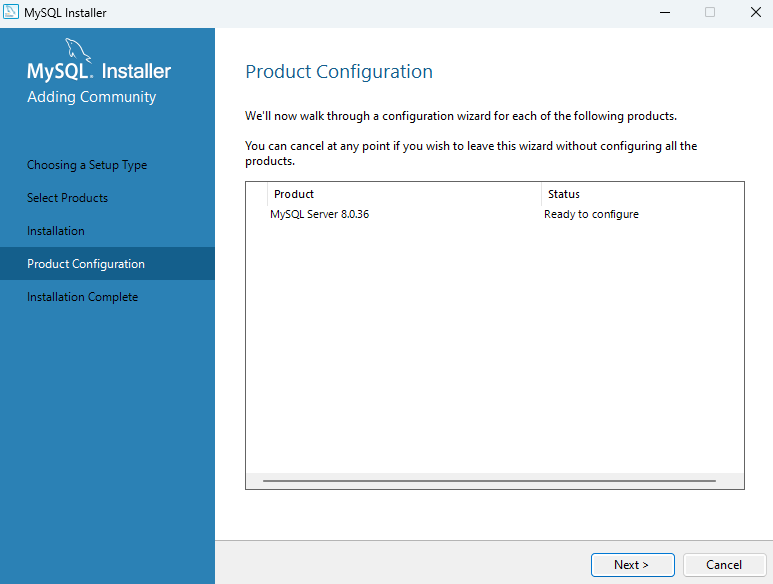
インストーラーが実行されて下の画面が表示されます
VSCODEなどですでにMySQL関連のファイルがインストールされているとDeveloper Defaultがないとおもうので、とりあえずCustomを選択 ゴリゴリ使ってる人はServer onlyでもいいと思います
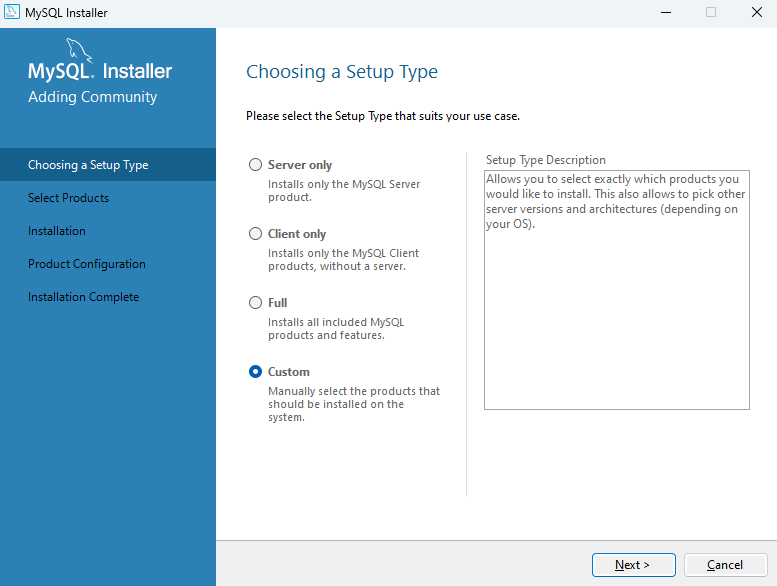
MySQL Server 本体ですね
MySQLShell shellで操作できるツール
MySQLWorkbench MySQLサーバを操作するアプリ
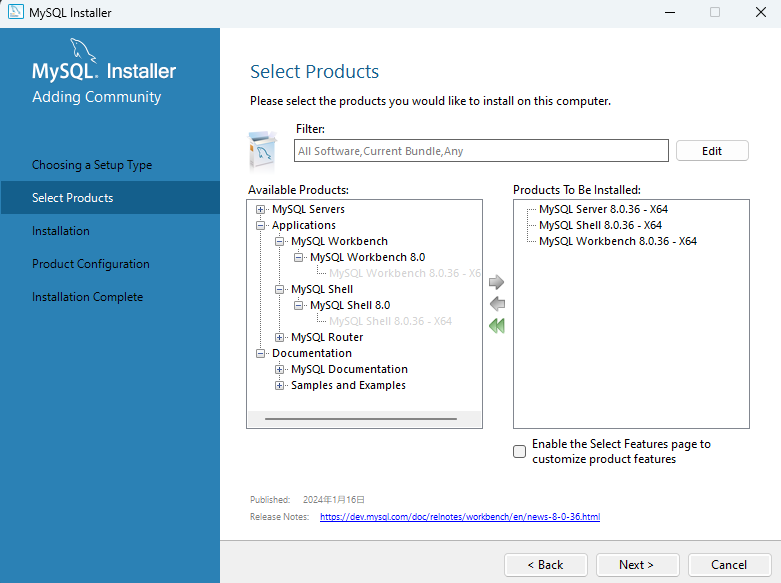
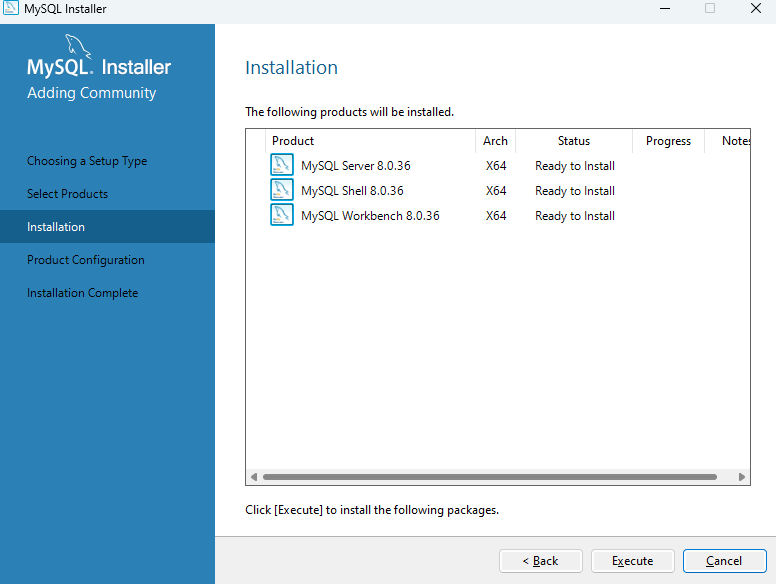
Nextを押していき以下画面でExecuteクリック
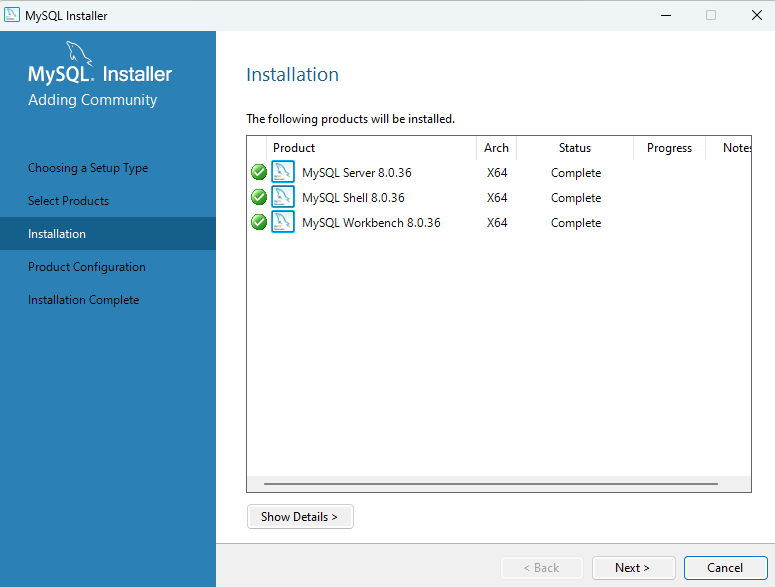
完了すると緑のチェックマークがつくのでNextをクリック
つぎもNextをクリック
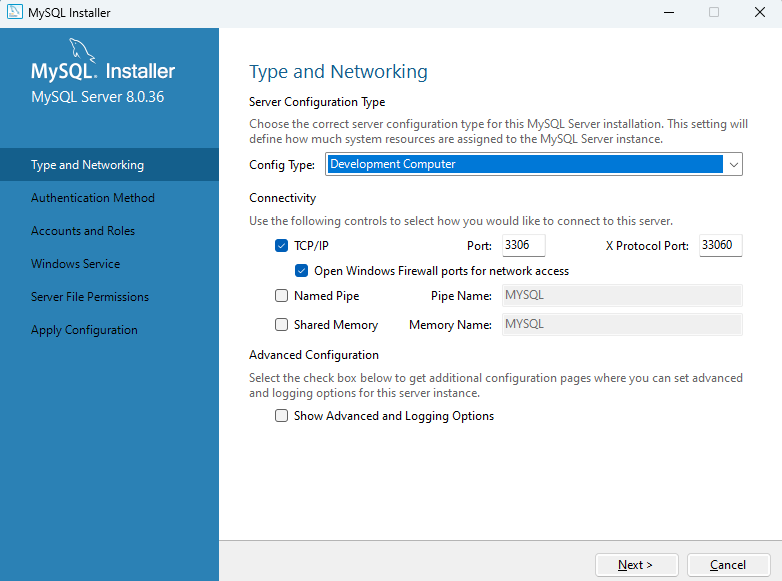
自分のPCで動かすだけなら特に気にせずNext
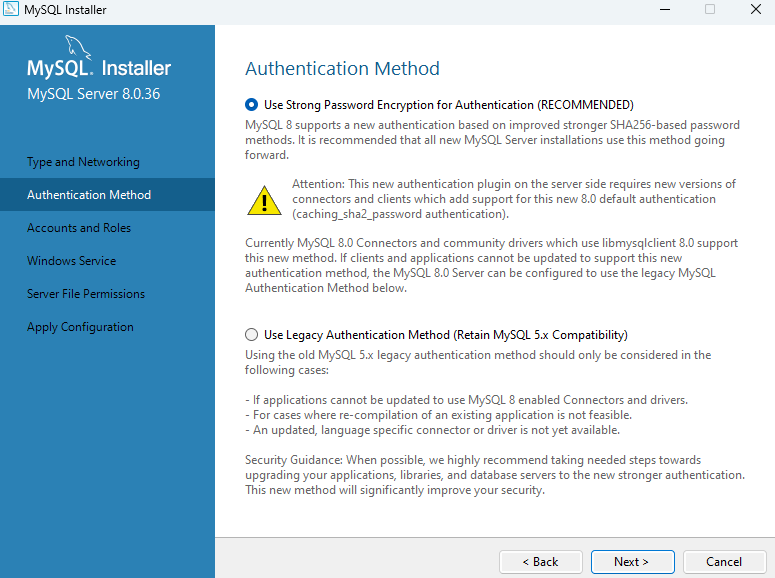
パスワードの設定方法の選択 Use Strong Password Encryption for Authentication(RECOMMENDED) をクリック
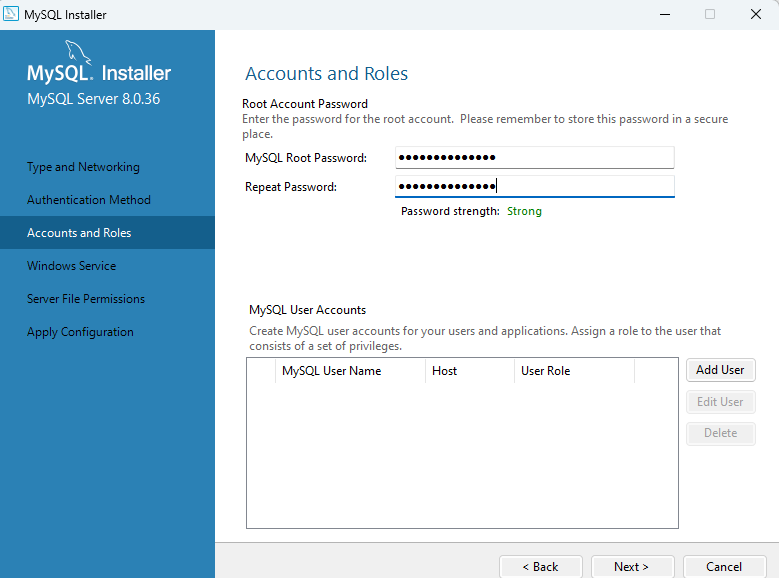
Root のパスワードを決めてNext
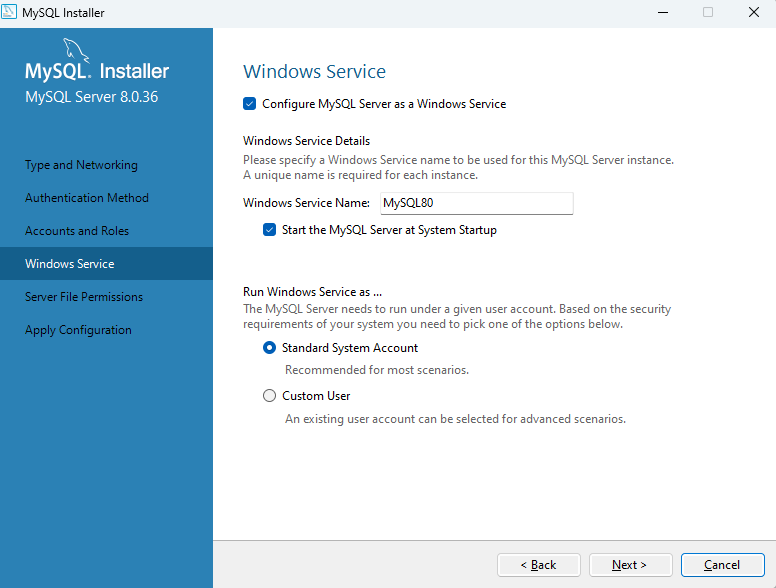
特にこだわりがなければ次もそのままNEXT
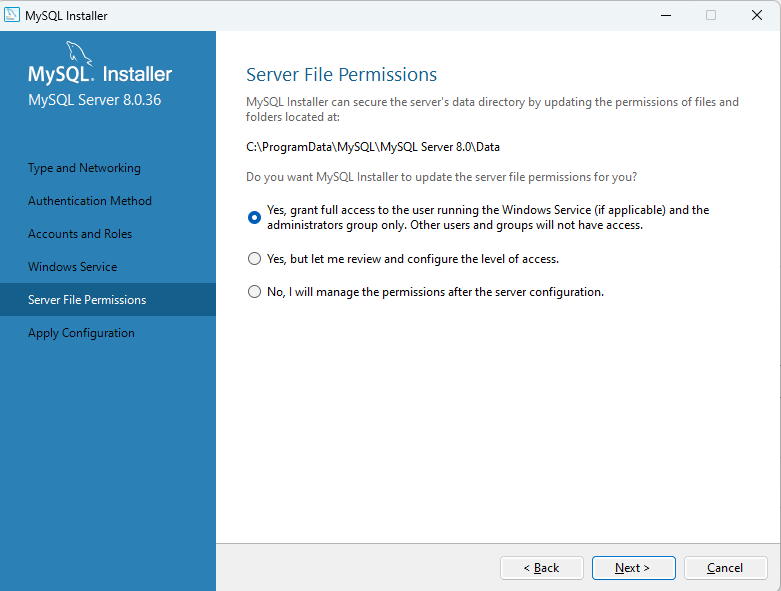
サーバファイルへのパーミッションについてこだわりがなければそのままNext
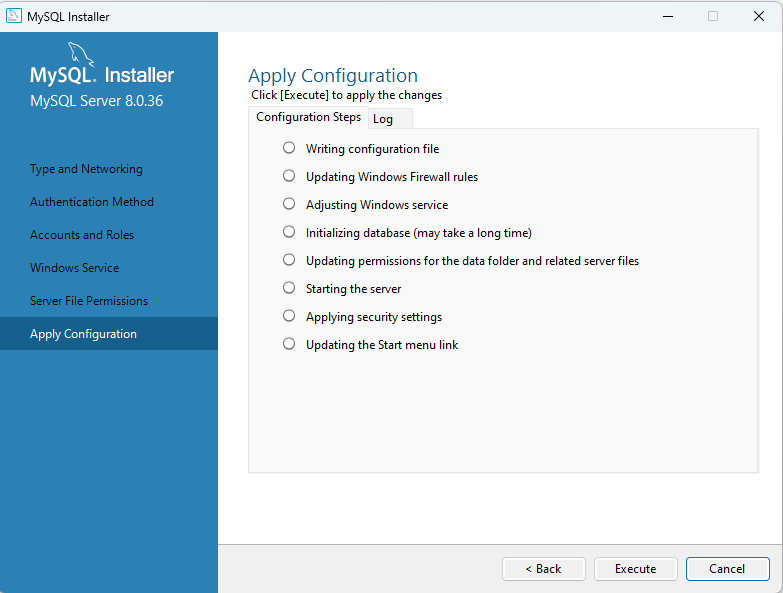
なにもせずExecute
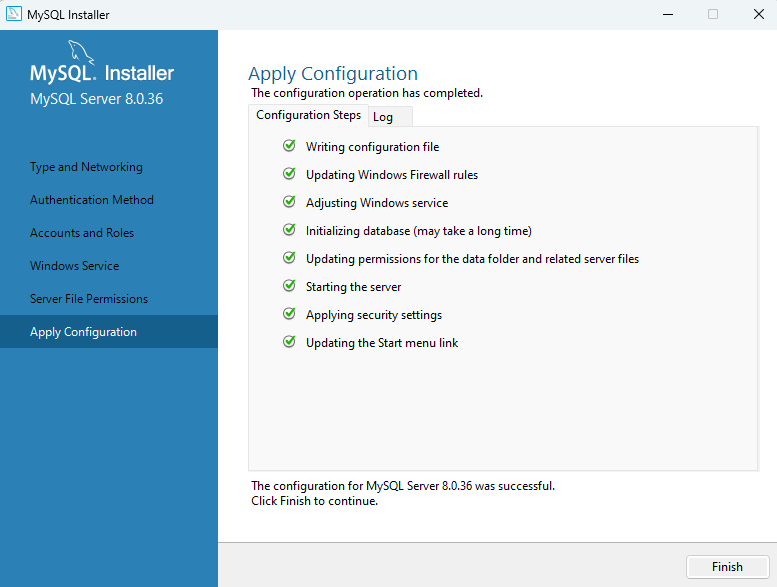
全部緑のランプがついたらインストール完了
MySQLの環境パスを通す
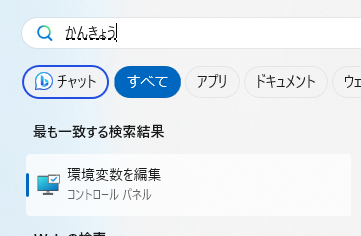
Windowsボタンを押して環境変数などでで検索すると 環境変数の編集というのがあるのでクリック
もしくは、コントロールパネルからアクセス
ユーザー環境変数のPathを選んで編集をクリック
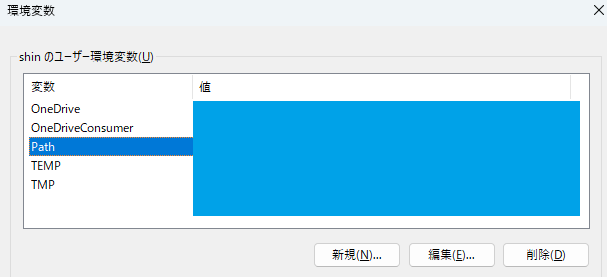
新規を押して、MySQLのパスを入力する
C:\Program Files\MySQL\MySQL Server 8.0\bin\
うまく行かないときは最後にバックスラッシュを消したりつけたりしてください
windowsのPowerShellもしくはターミナルを起動
mysql --version を入力して、下が出ればOK

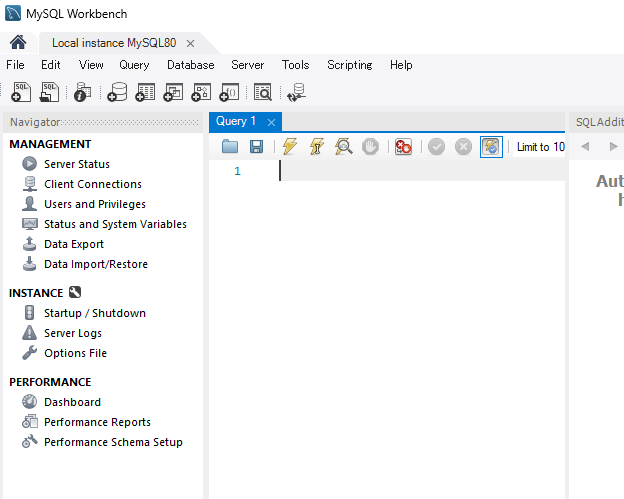
MySQL Workbenchについて
MySQLワークベンチはSQLを実行したり、サーバの状態などを確認できるアプリですので、結構便利です。SQLを実行したら間違ってたらエラーメッセージが出たりするので直感的に操作しやすいですよ